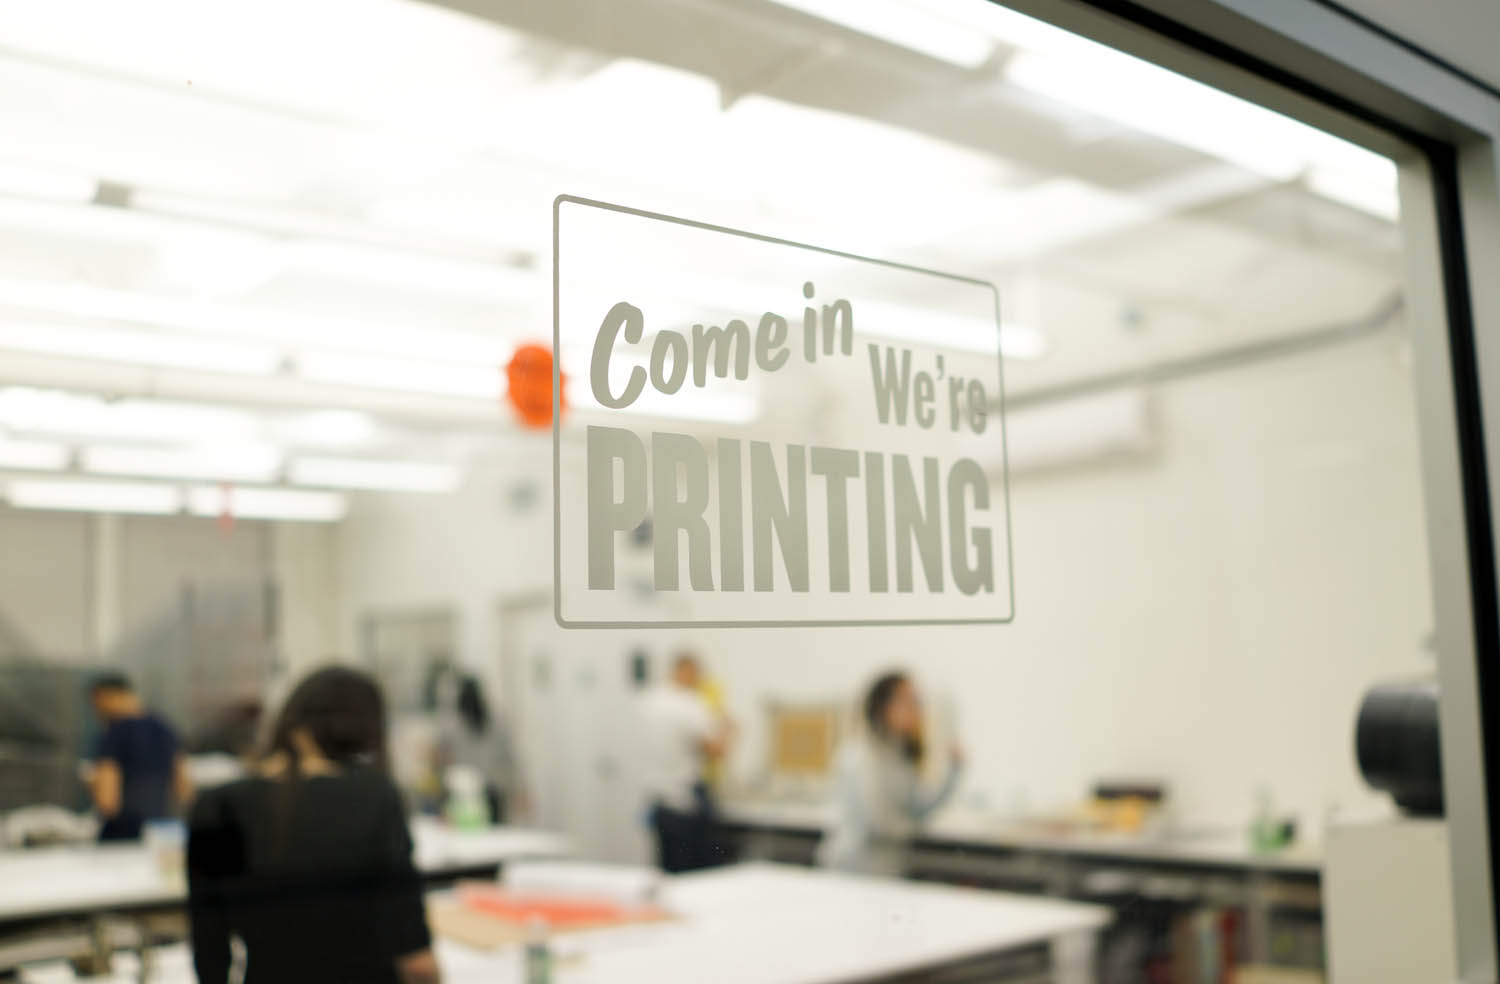
My friend Kim started screen printing three to four years ago; I marveled at her finished products, but the printing process was a mystery to me. After we recently collaborated on a book, it seemed like the perfect chance to be a screen printing tourist and watch Kim print part of the book at the SVA Printshop.
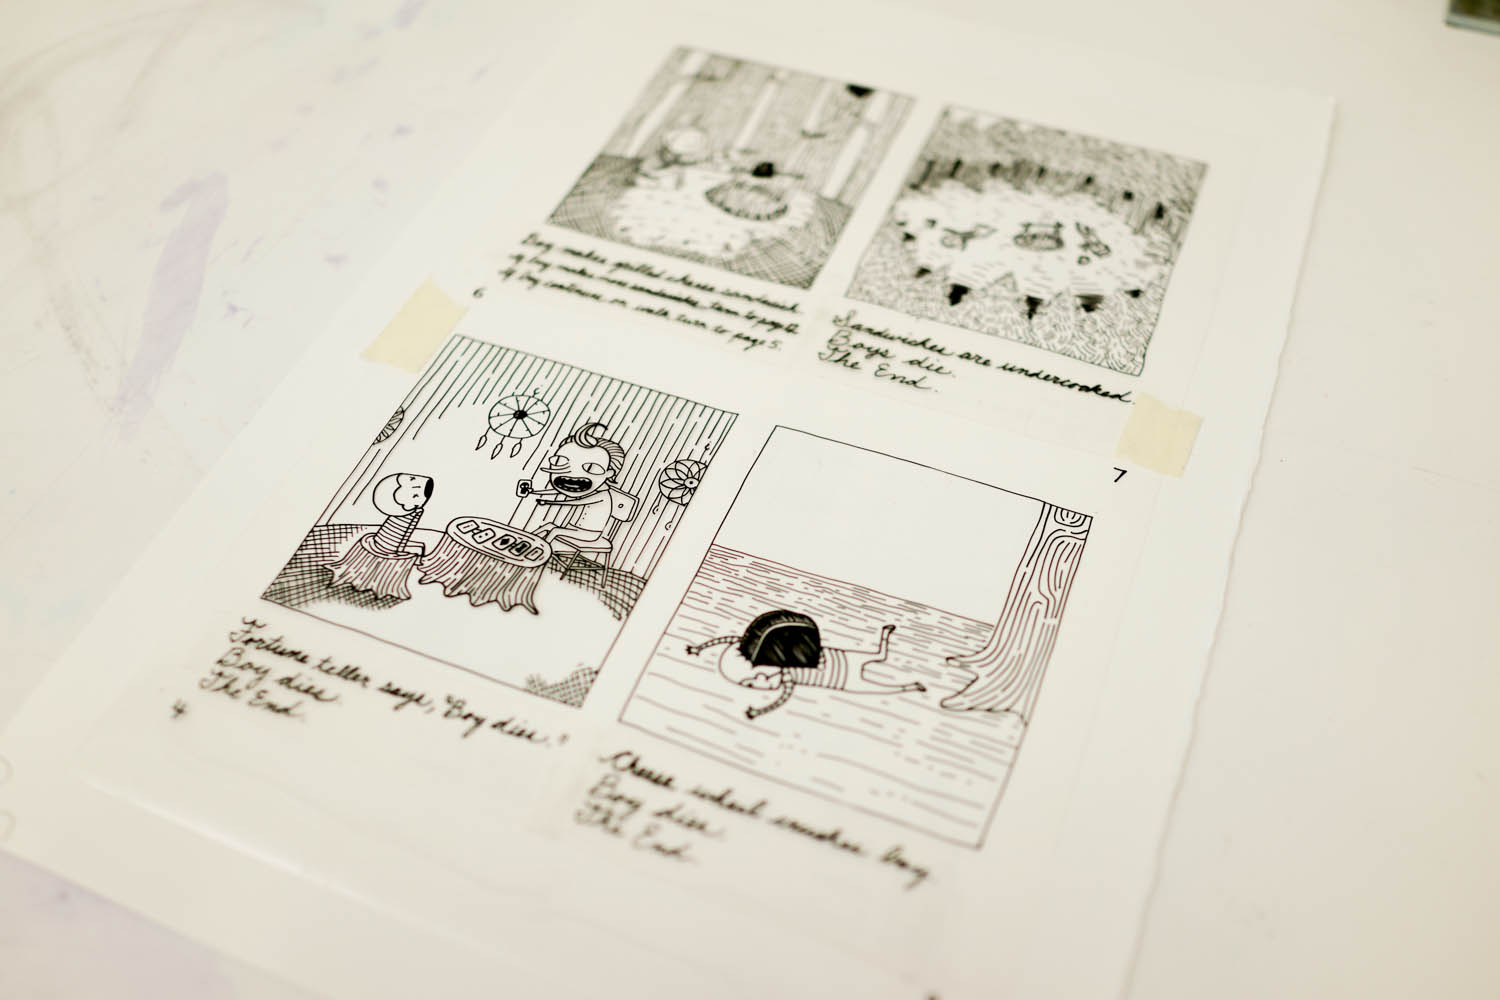
At the printshop, Kim first taped a transparency onto a sheet of paper in the position she wanted it to be printed; this paper was then used to line up the screen.
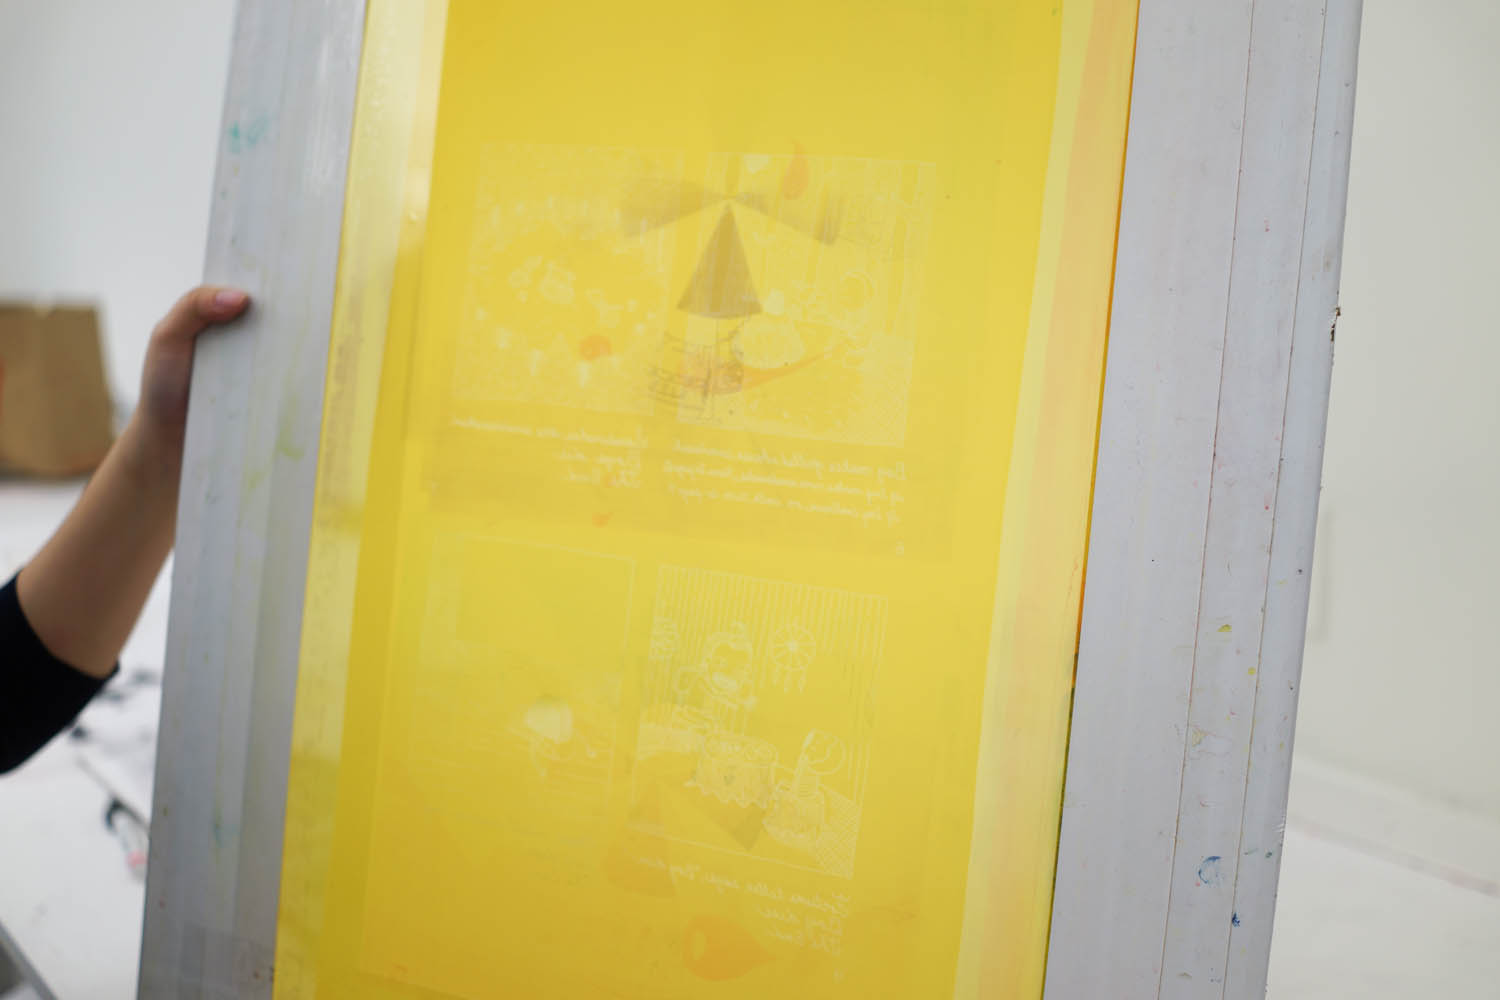
Previously, the transparency was also used to burn the image onto the screen. The screen was coated with emulsion and left to dry; then a machine in the printshop exposed the screen to light, reproducing the transparency’s image.
The same screen can be used multiple times, so remnants of old images — or “ghosting” — are visible.
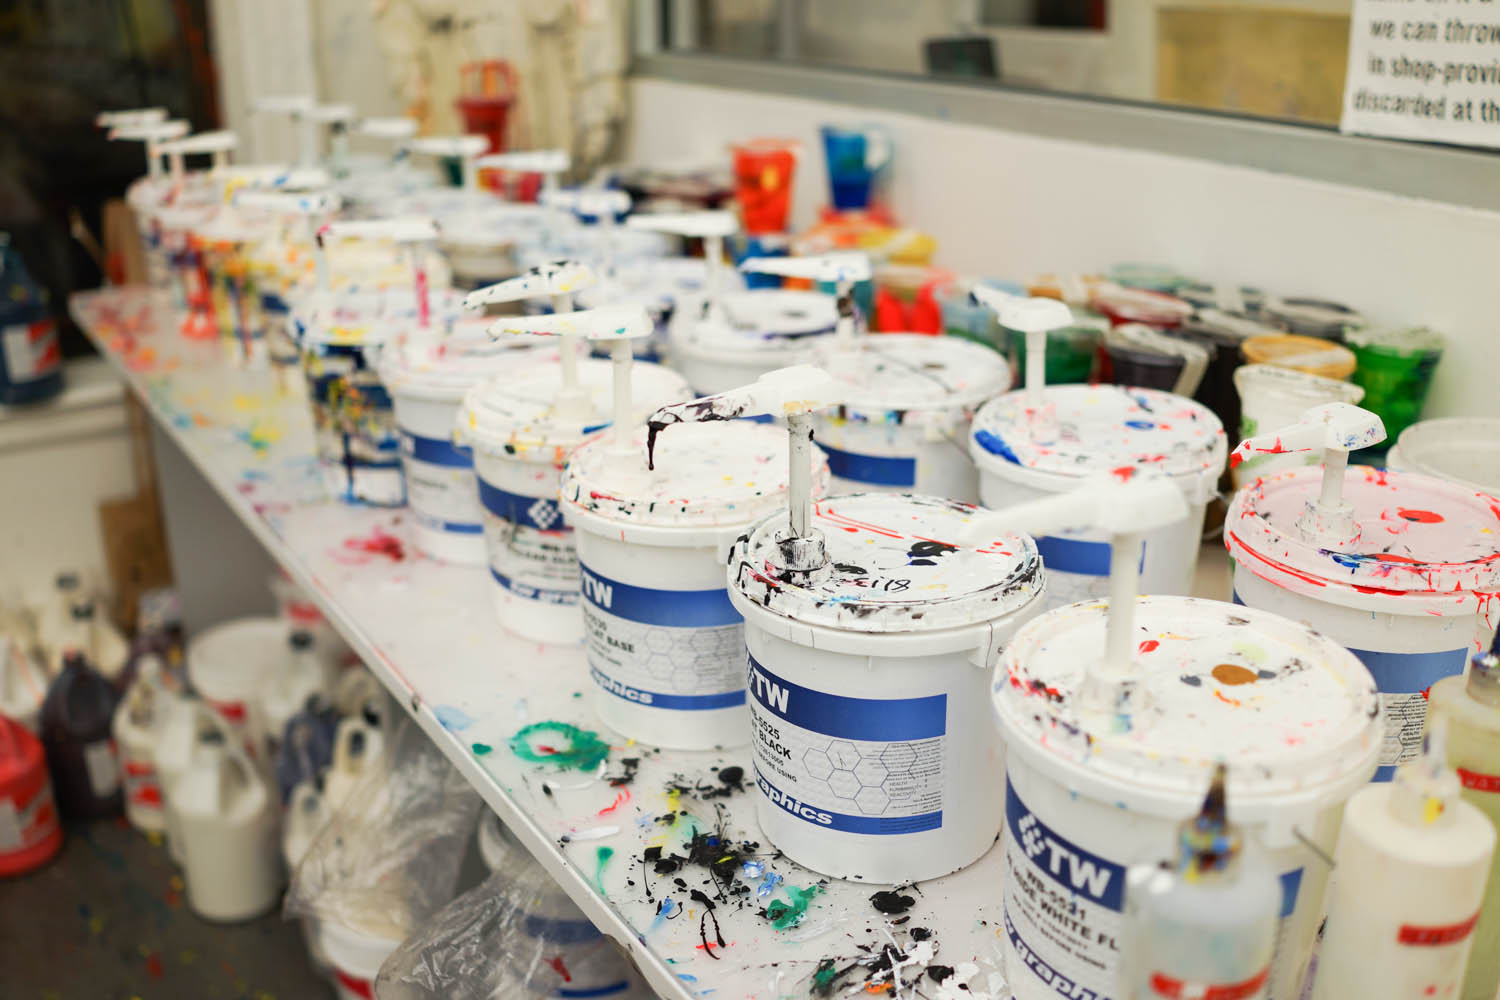
The table of ink that is available to everyone in the printshop. According to Kim, it’s good quality ink that “comes by boat from Australia.”
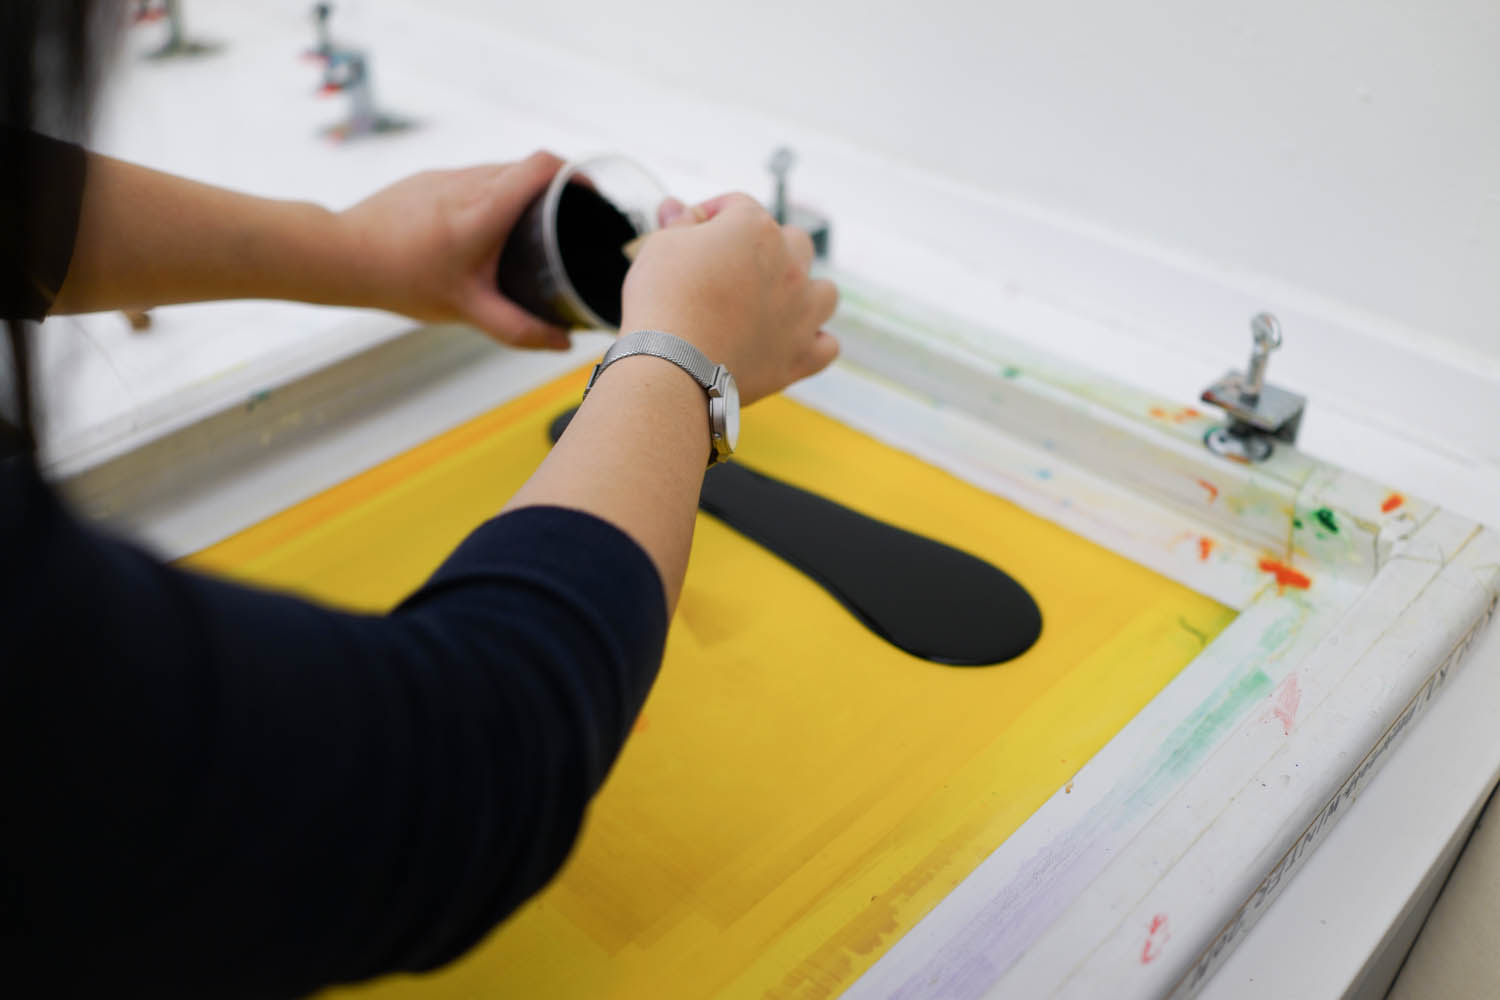
After the screen was lined up and clamped down, the printing began. Kim poured some ink onto the top of the screen.
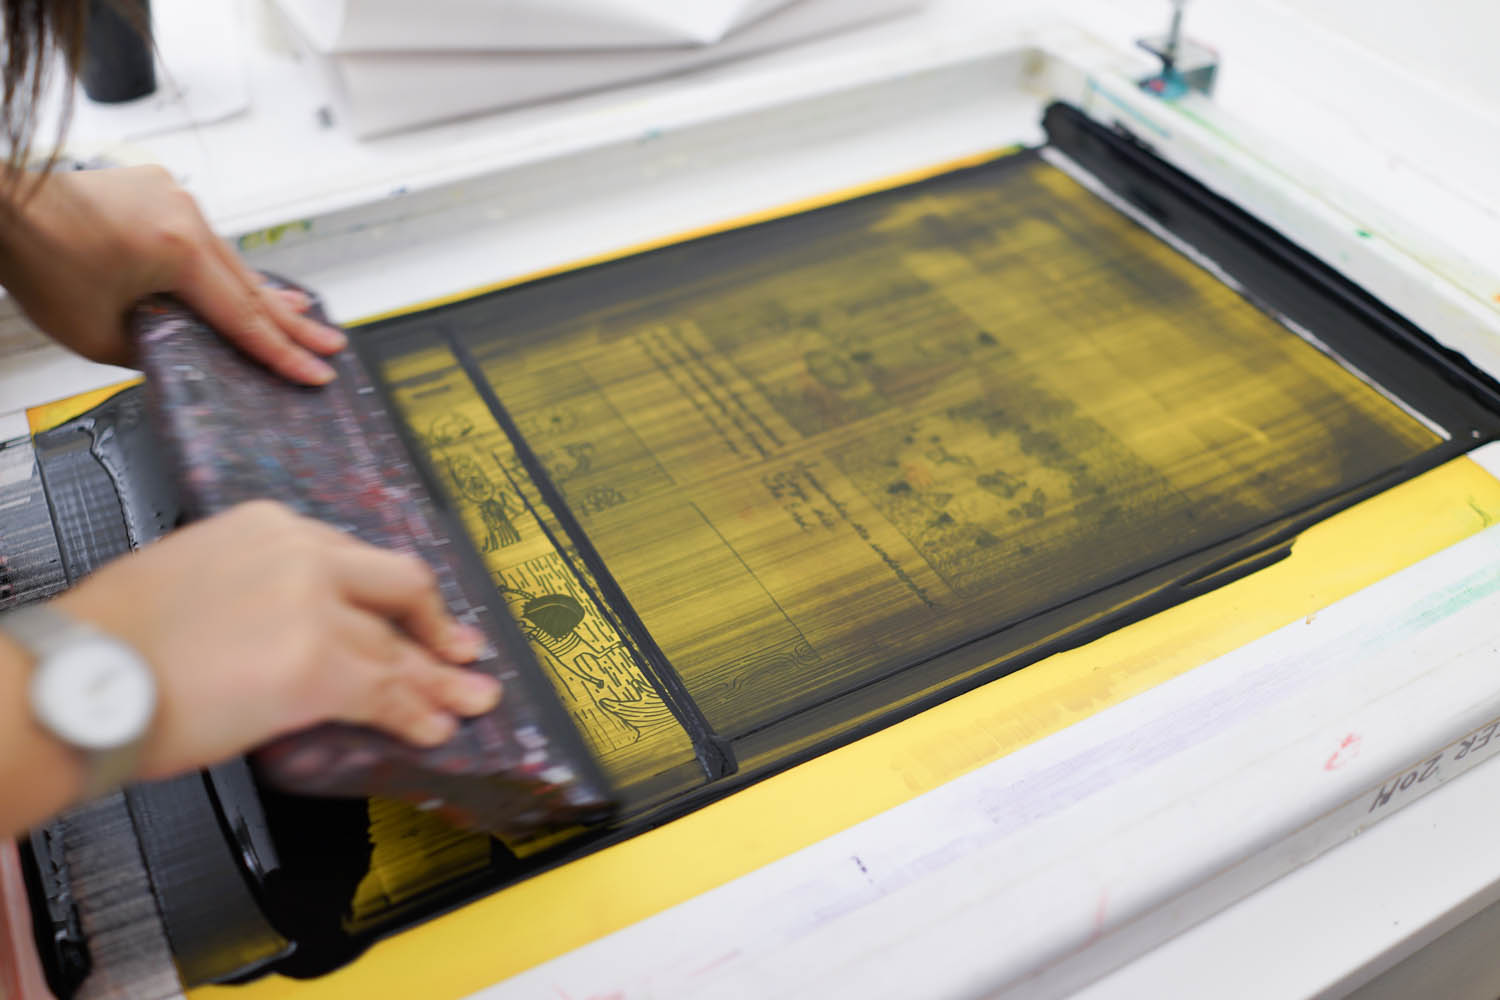
Then she used a squeegee to pull the ink, forcing it through the screen onto the paper below.
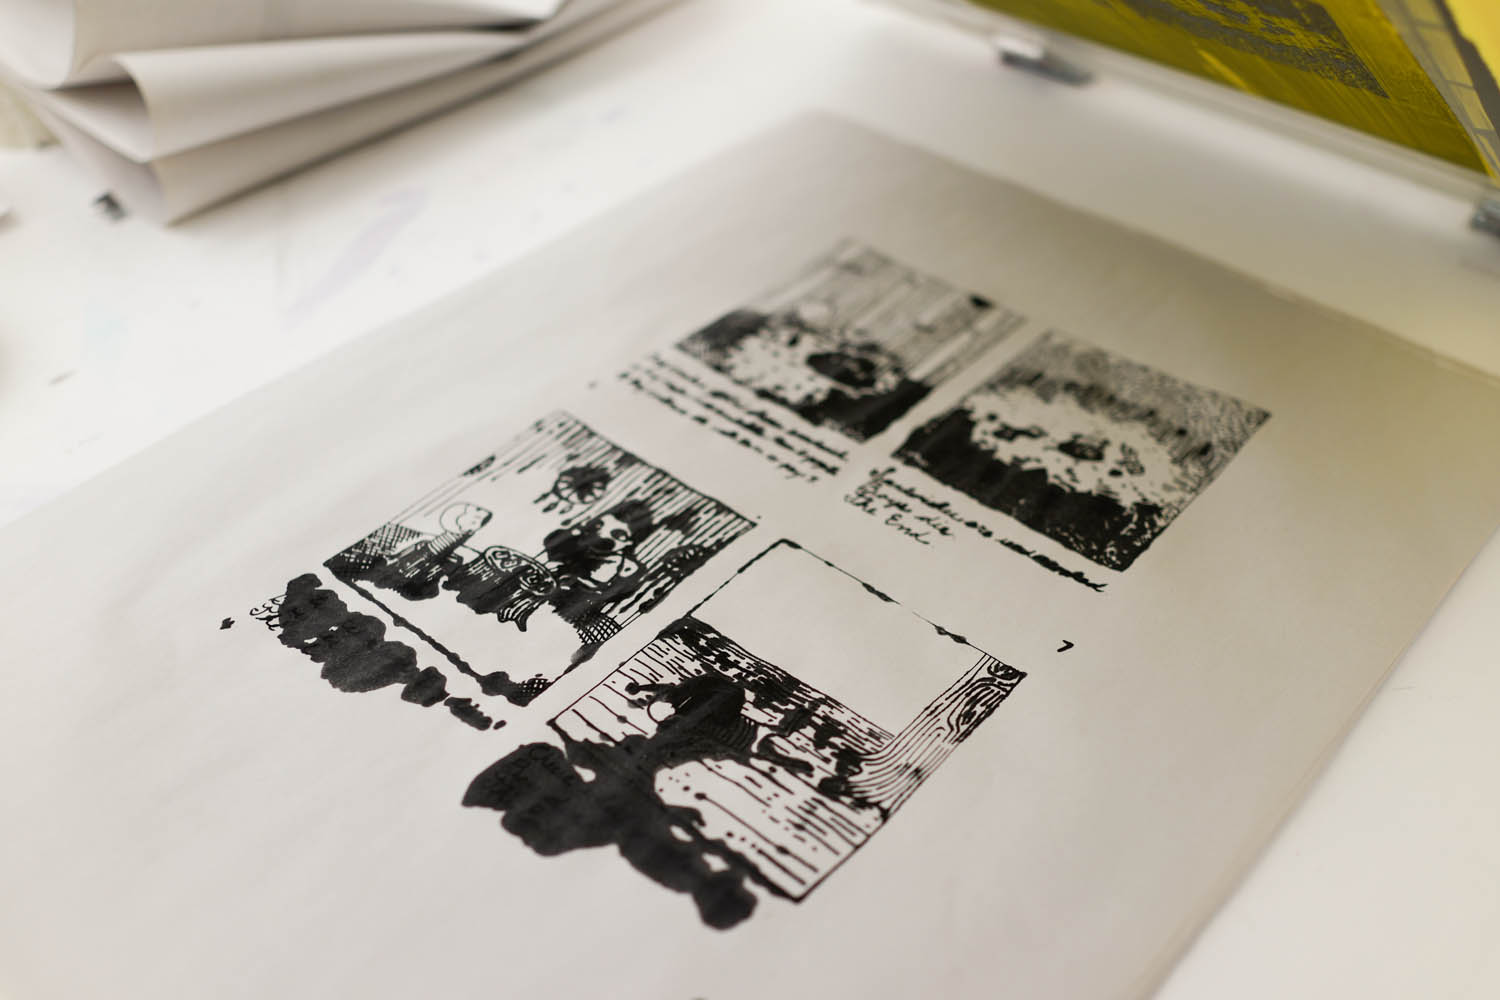
The first couple pulls were tests; I secretly liked how the ink bled all over the characters and obscured the words. Creepy.
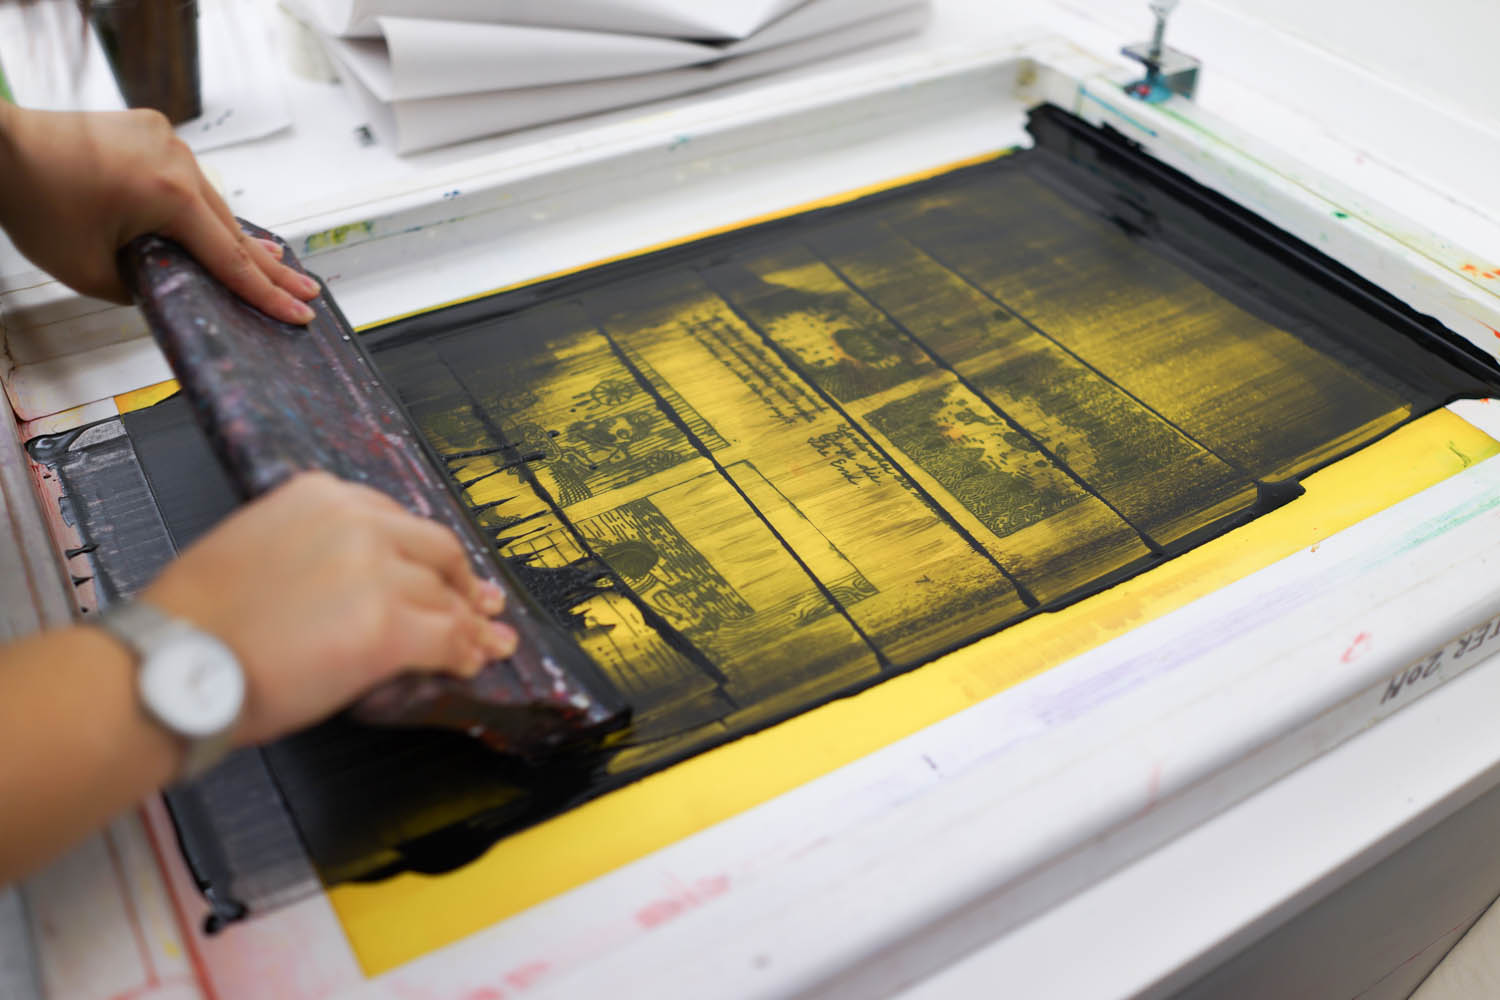
The beginning was a labor-intensive process of pulling, checking, and adjusting the ink (like spraying a cleaner that helped keep lines clean) until the perfect registration was achieved.
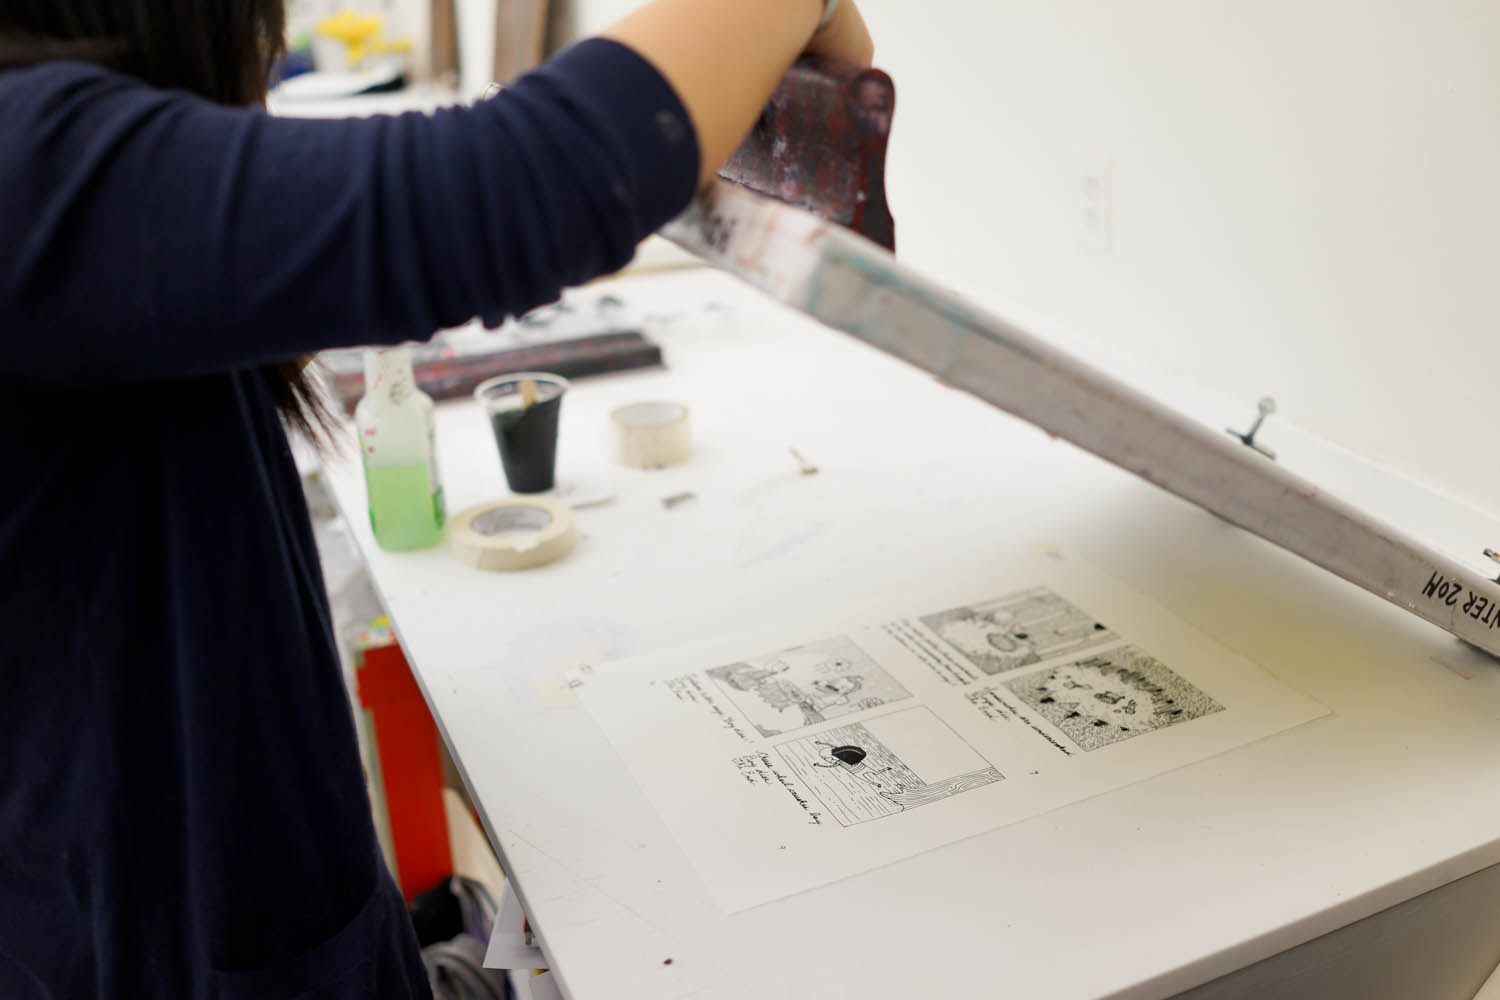
Once all the conditions were right, it was a fast process; Kim cranked out 40 pages like a screen printing machine.
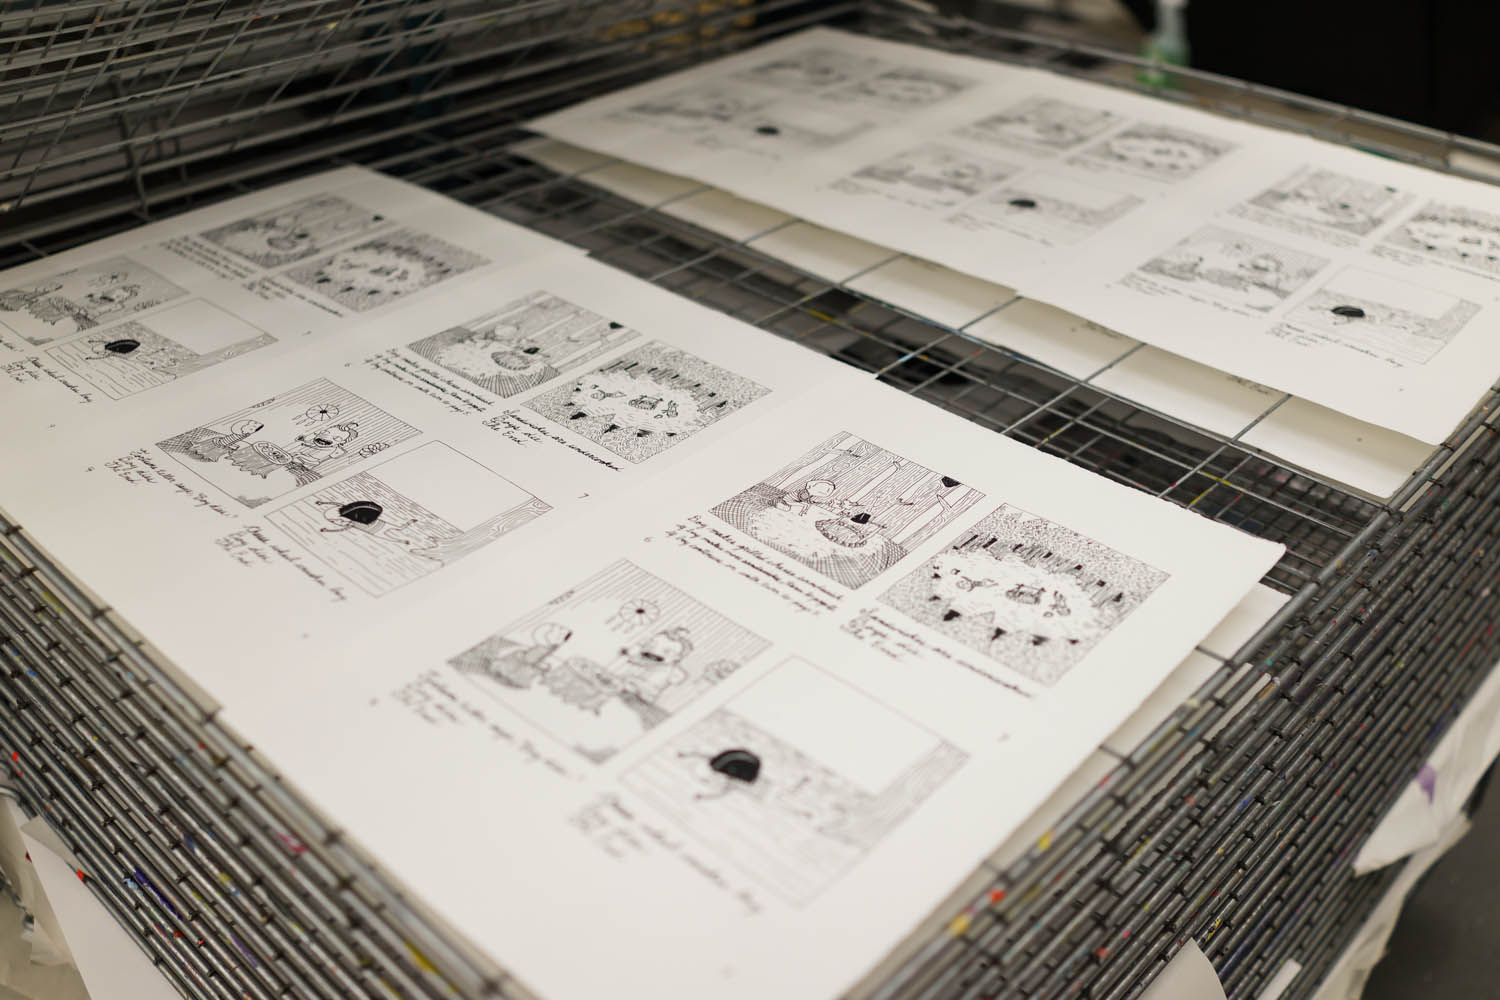
The finished sheets were laid out onto drying racks.
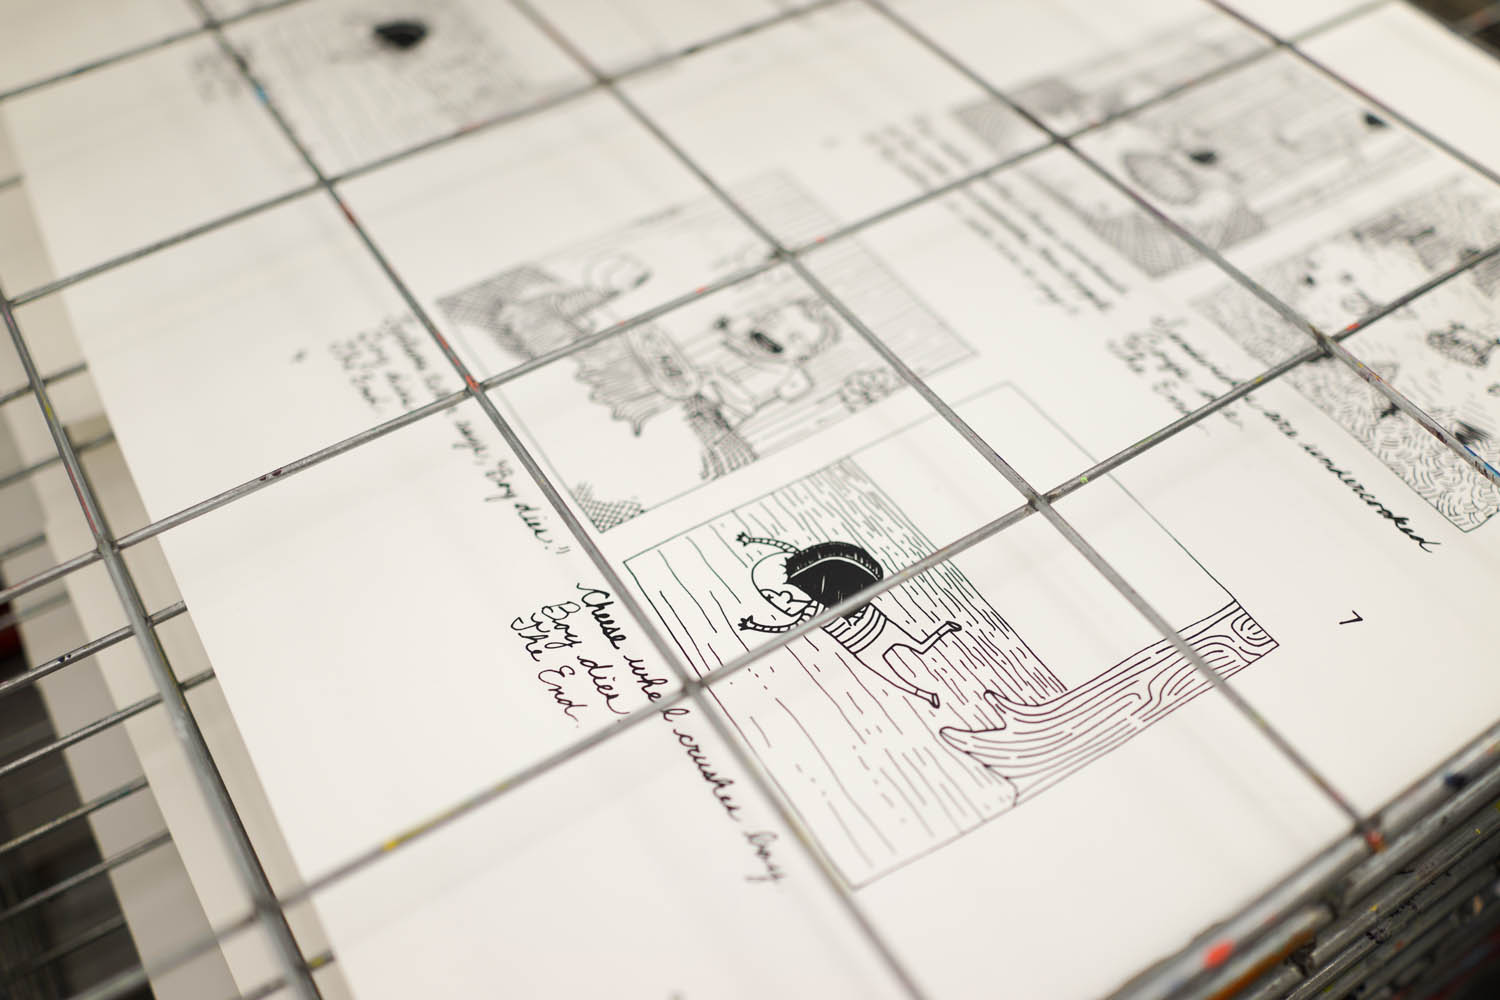
The ink dried fast, in 15 minutes or less.
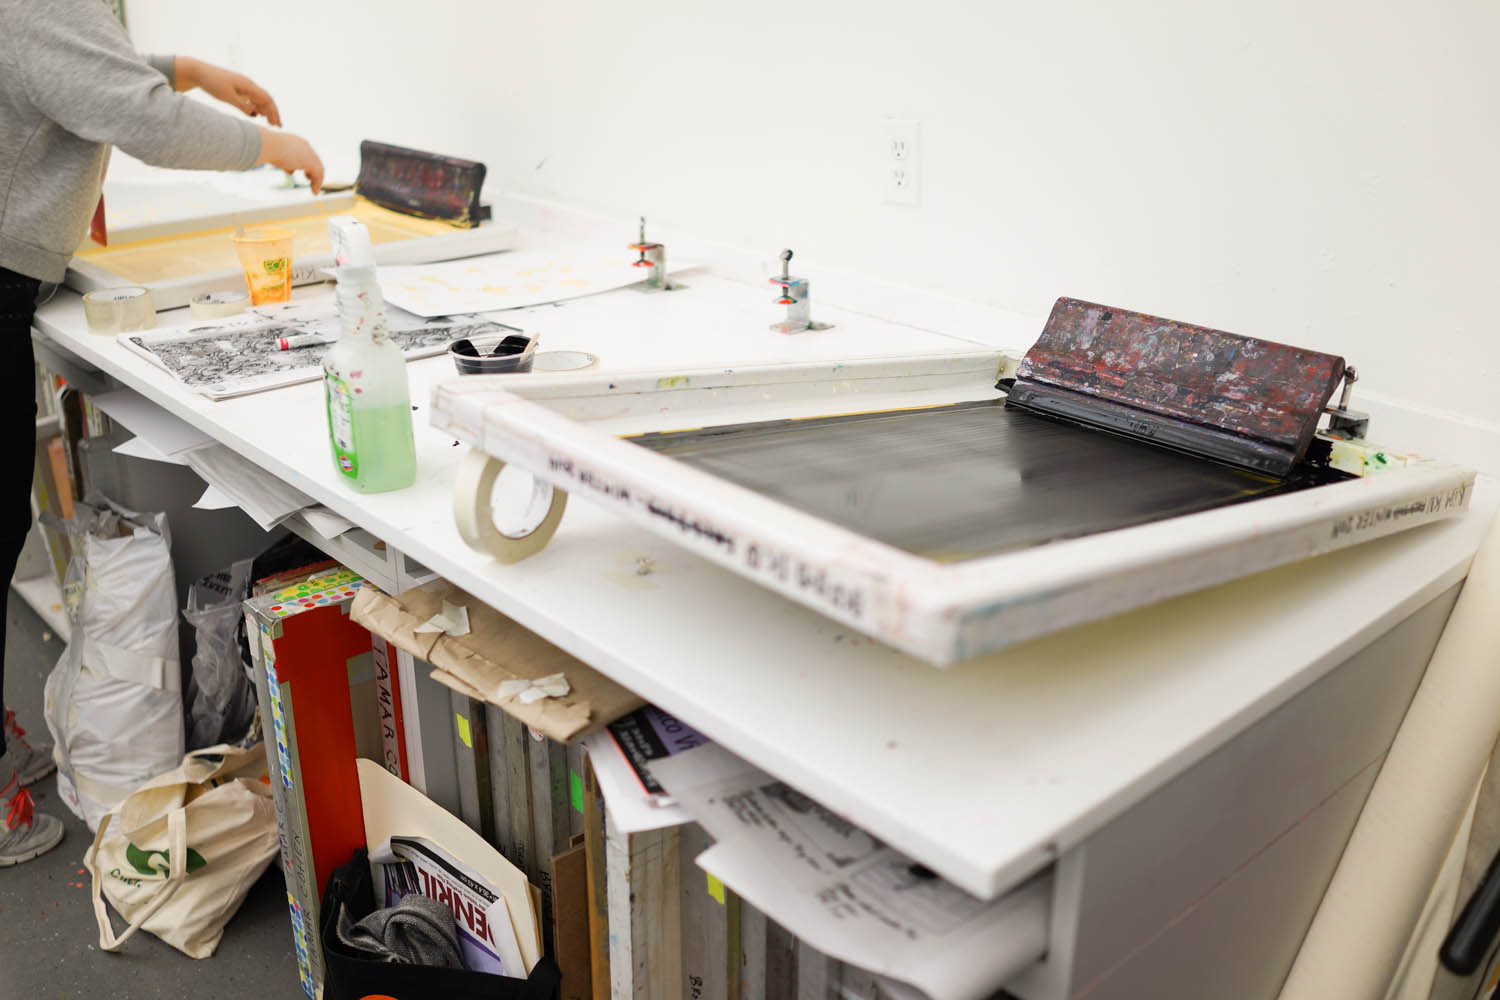
With printing done, the screen and squeegee could finally rest.
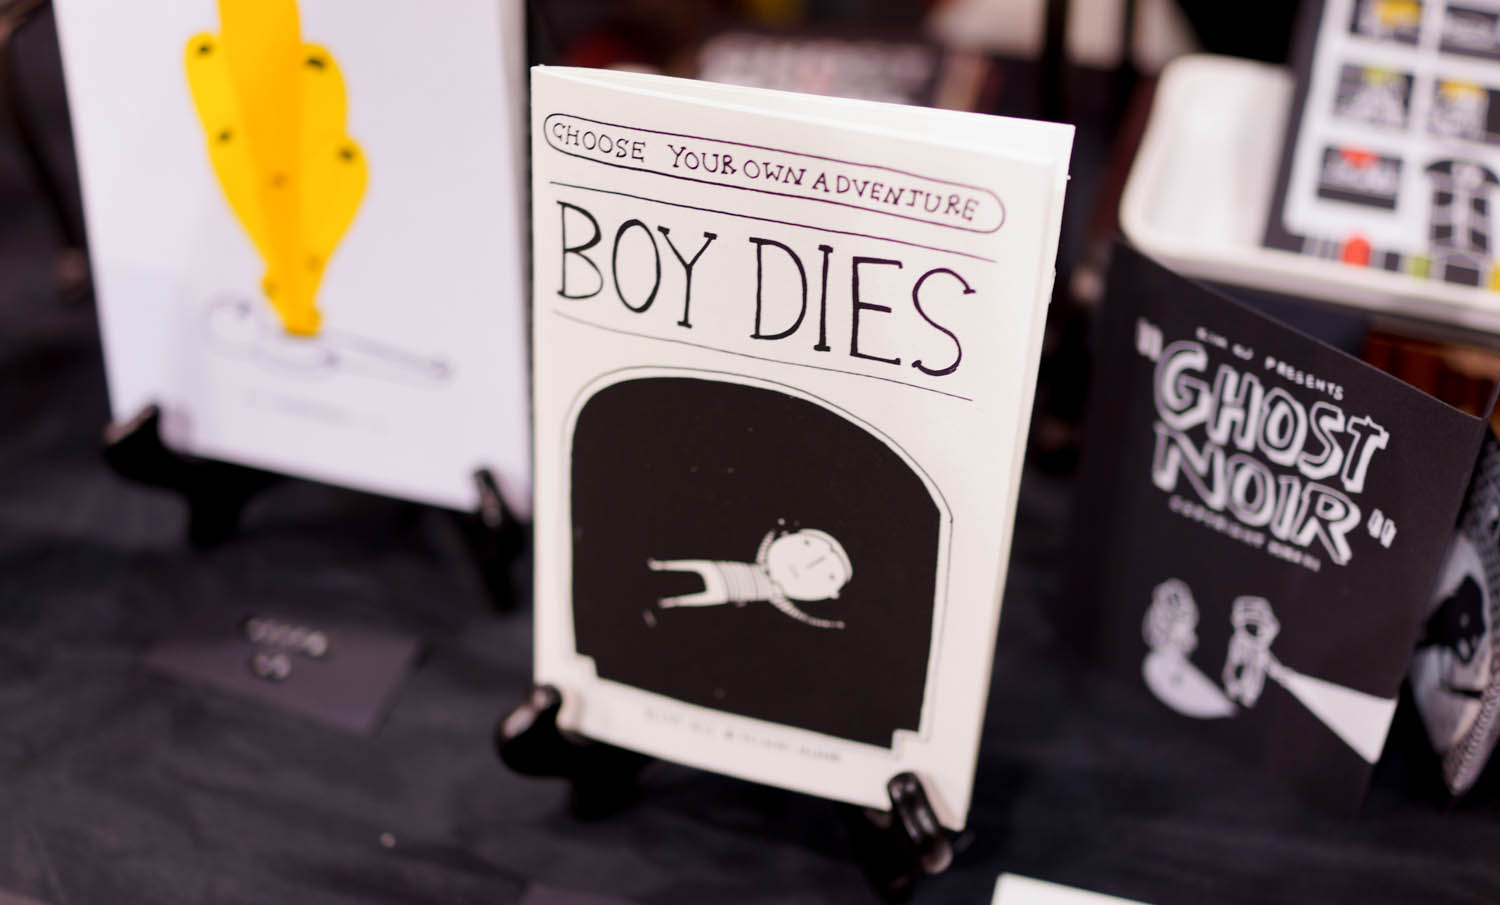
At MoCCA Fest this past weekend, we sold the finished product — a Choose Your Own Adventure book, Boy Dies.
